This is the third part of a series of articles about Vaultwarden on Azure Container Apps:
- Part 1: How to deploy Vaultwarden on Azure Container Apps
- Part 2: How to use a custom domain with a free Letsencrypt TLS certificate
- Part 3 (this article): How to backup the data and restore it in case of a disaster
How to backup the data and restore it in case of a disaster
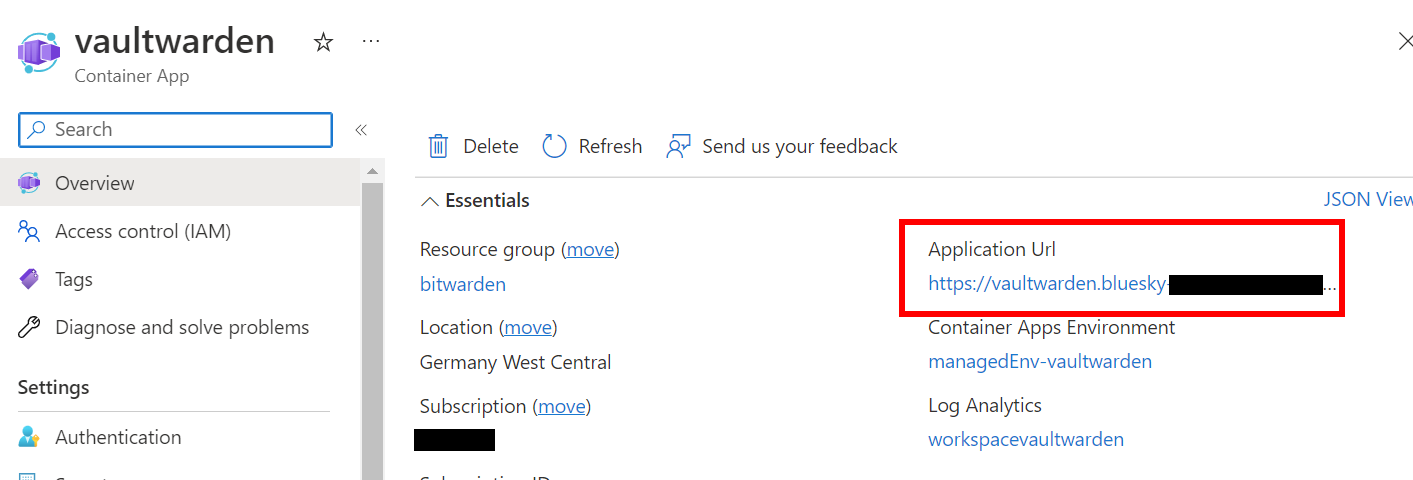
In the first part of this series, I’ve shown you how to deploy Vaultwarden on Azure Container Apps. In this article, I will show you how to backup the data and restore it in case of a disaster.
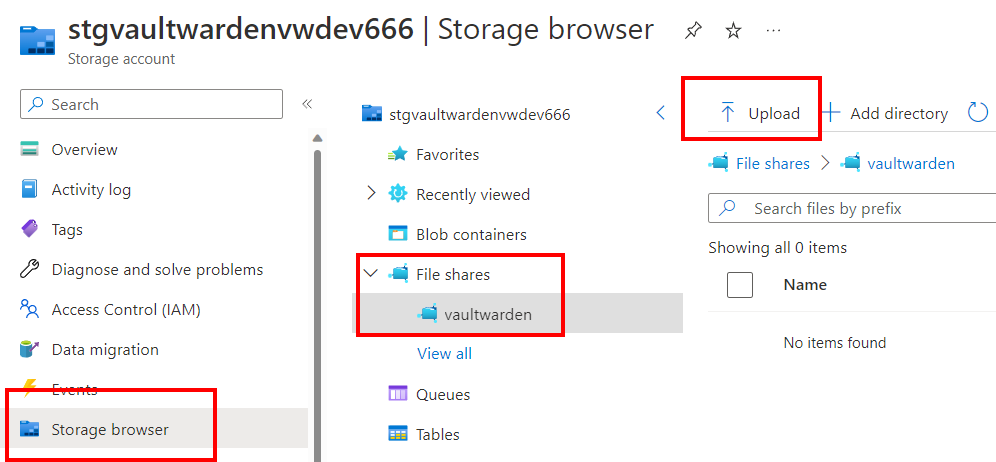
Vaultwarden stores all data in a SQLite database. As shown in part 1, I’m storing all data in an Azure storage account file share.
The easiest way to backup all the data is to copy the database files and all other files from the file share to another location.
However, the SQLite database files are in use if the container is running. Therefore I’m using the following script to stop the container, copy the files and start the container again. This just takes a few seconds and if you do this in the night, you will not notice any downtime.
I’m using the Azure CLI to stop and start the container. The script runs on one of my computers once a day.
PowerShell using Azure CLI
Replace the
TODO_YOUR_STORAGE_ACCOUNT_NAME,TODO_YOUR_ACCOUNT_KEY,TODO_RESOURCE_GROUP_NAMEandTODO_CONTAINER_APP_NAMEwith the values from your storage account.
# Enable these two lines if you are using the storage account network rules.
# This will allow access to the storage account from everywhere.
#az storage account update --default-action Allow --name TODO_YOUR_STORAGE_ACCOUNT_NAME
#start-sleep 60

# Get the current active revision
$rev = az containerapp revision list -n TODO_CONTAINER_APP_NAME -g TODO_RESOURCE_GROUP_NAME --query [0].name --output tsv

# Deactivate the current revision
az containerapp revision deactivate -n TODO_CONTAINER_APP_NAME -g TODO_RESOURCE_GROUP_NAME --revision $rev

# Download the files from the storage account file share
az storage file download-batch --account-key TODO_YOUR_ACCOUNT_KEY --account-name TODO_YOUR_STORAGE_ACCOUNT_NAME --destination ./vaultwarden --no-progress --source vaultwarden

# Reactivate the revision
az containerapp revision activate -n TODO_CONTAINER_APP_NAME -g TODO_RESOURCE_GROUP_NAME --revision $rev

# If you are using the storage account network rules, disable access from everywhere again.
#az storage account update --default-action Deny --name TODO_YOUR_STORAGE_ACCOUNT_NAME
Restore
In case of an emergency, you can restore the Vaultwarden instance with the steps from part 1. Before you start the container instance, just copy all the data back to the storage account file share, then start the container and you are done.
If you have any questions, please let me know in the comments or reach out to me on these other channels.