Introducing diagramHub: My new tool for managing diagrams
As someone who has worked on countless projects involving diagrams, I’ve often found myself frustrated with the lack of a centralized, secure, and collaborative platform for managing them. That’s why I decided to create diagramHub.
Why I built diagramHub
The idea for diagramHub came from my own experiences, especially after seeing a demo of another tool for creating and sharing diagrams in a proprietary format. The tool was also very expensive.
If you ever searched through emails, SharePoint, and scattered folders to find the right diagram or wanted to work together on a Draw.io diagram with others if it is stored in SharePoint or Azure DevOps, diagramHub is the solution.
What Makes diagramHub Special?
diagramHub is a unique Software-as-a-service tool with the following features:
Centralized Management
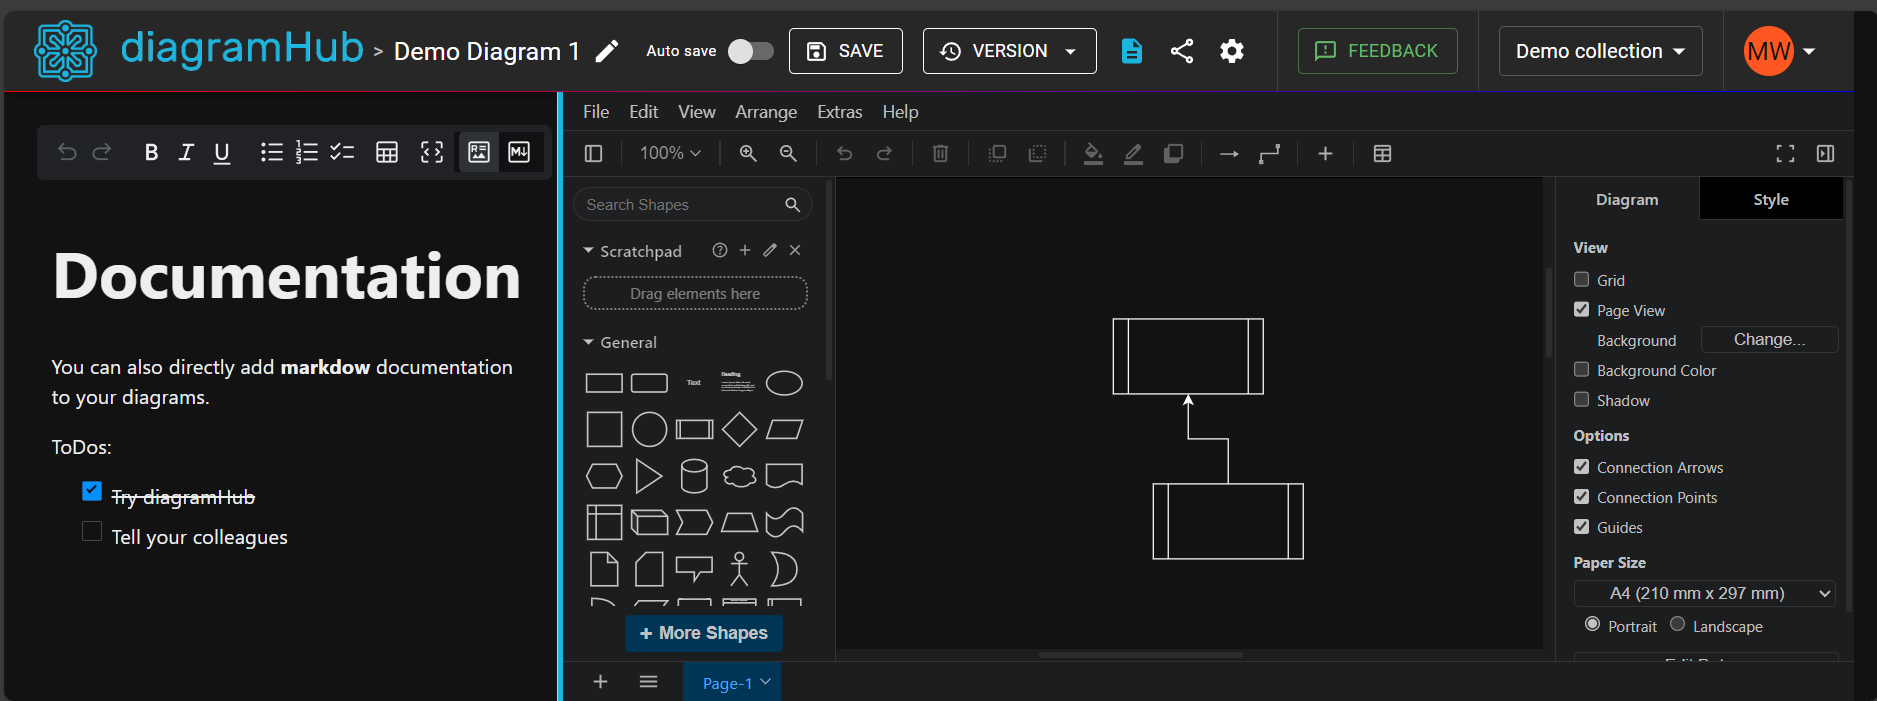
I wanted a single place to store and organize all my diagrams, whether for personal projects or team collaborations. diagramHub allows you to create, edit, and manage diagrams in one place.Privacy and Security
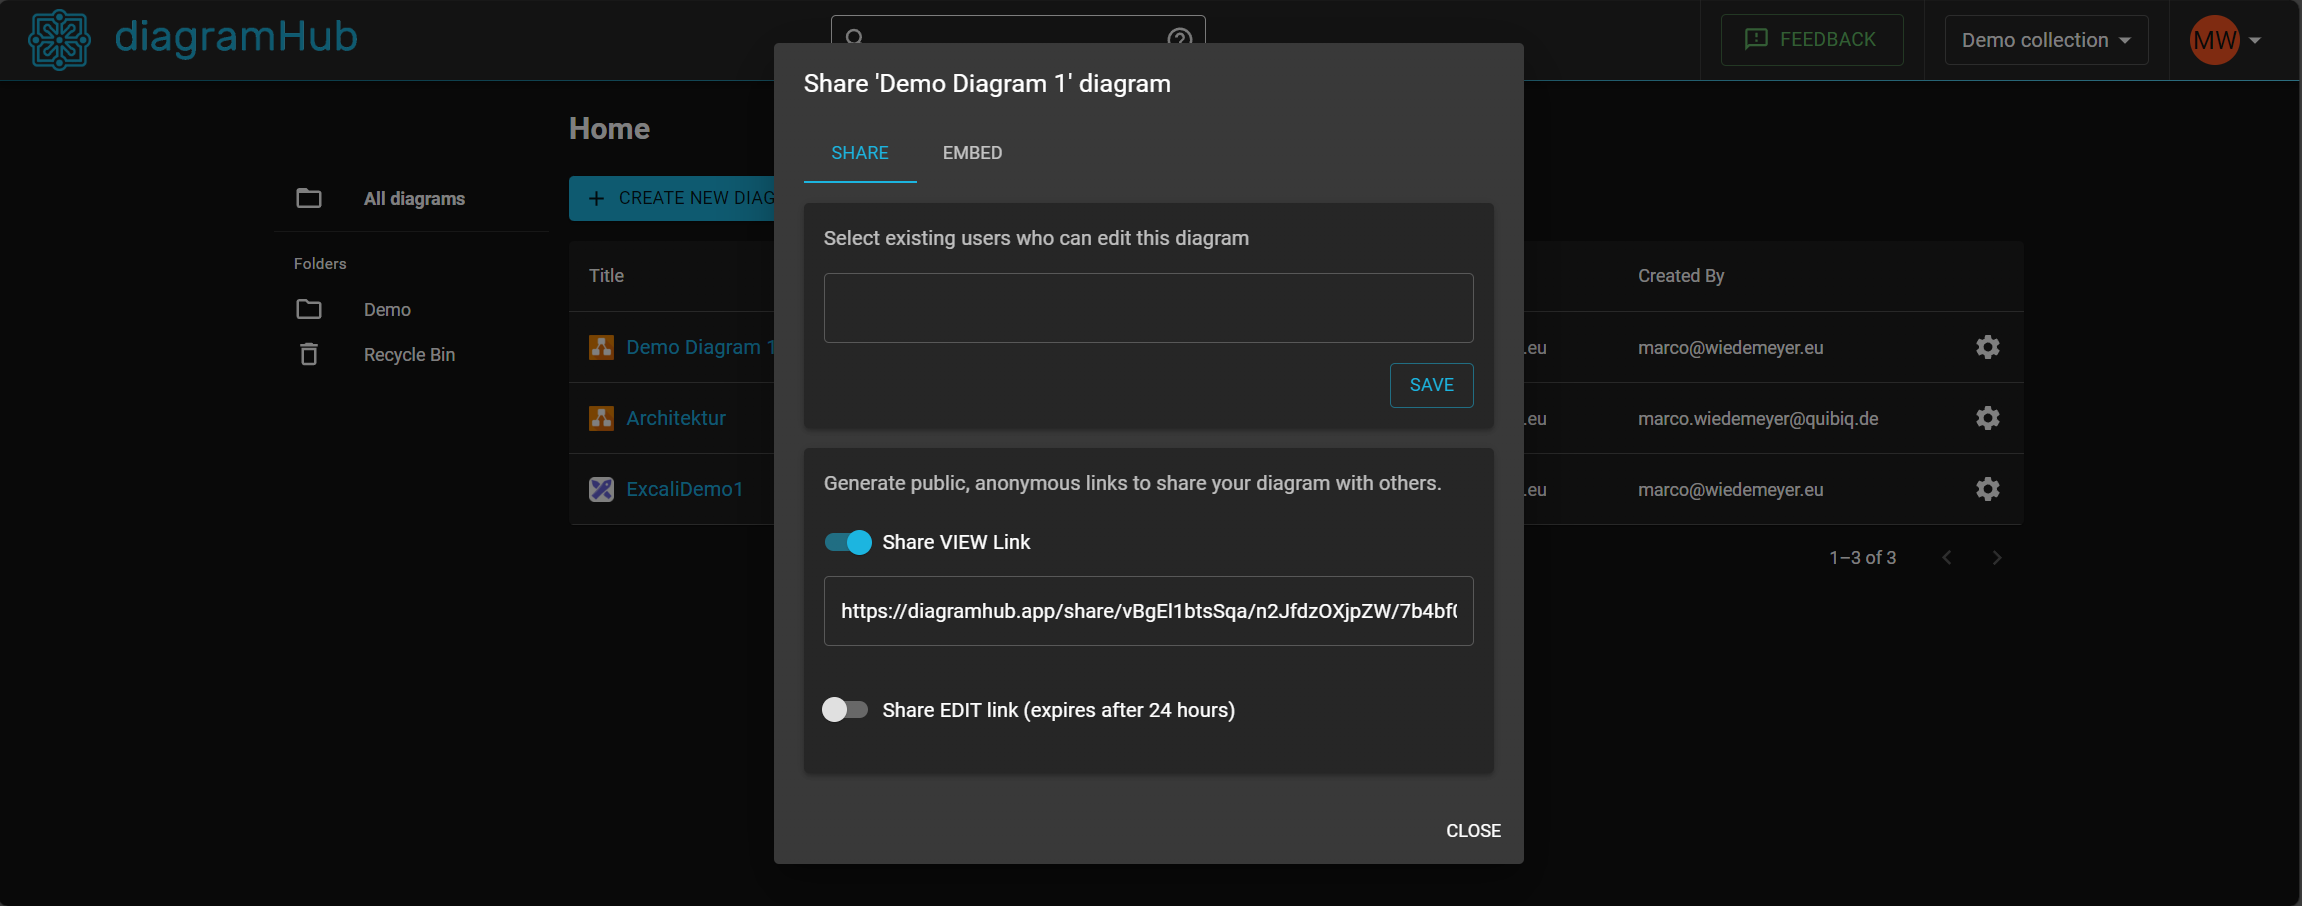
diagramHub is hosted in Germany. You have full control over which diagram or collection of diagrams you want to share and with whom.Collaboration Made Easy
Collaboration should be simple and intuitive. With diagramHub, you can invite colleagues, clients or even guests to view or edit diagrams in near real-time.Integration with Popular Tools
Diagrams from diagramHub can be embedded into tools like GitHub, Azure DevOps Wikis, and Confluence. You never need to export an image and update it manually again.Easy Access
diagramHub is using Microsoft 365 for authentication. This means you can just sign in with your work account. The first user from a company/tenant automatically becomes the Company Administrator.
How You Can Get Started
Getting started with diagramHub is easy:
- Sign In: Use your Microsoft 365 work account to sign in. The first user from a company automatically becomes the Company Administrator.
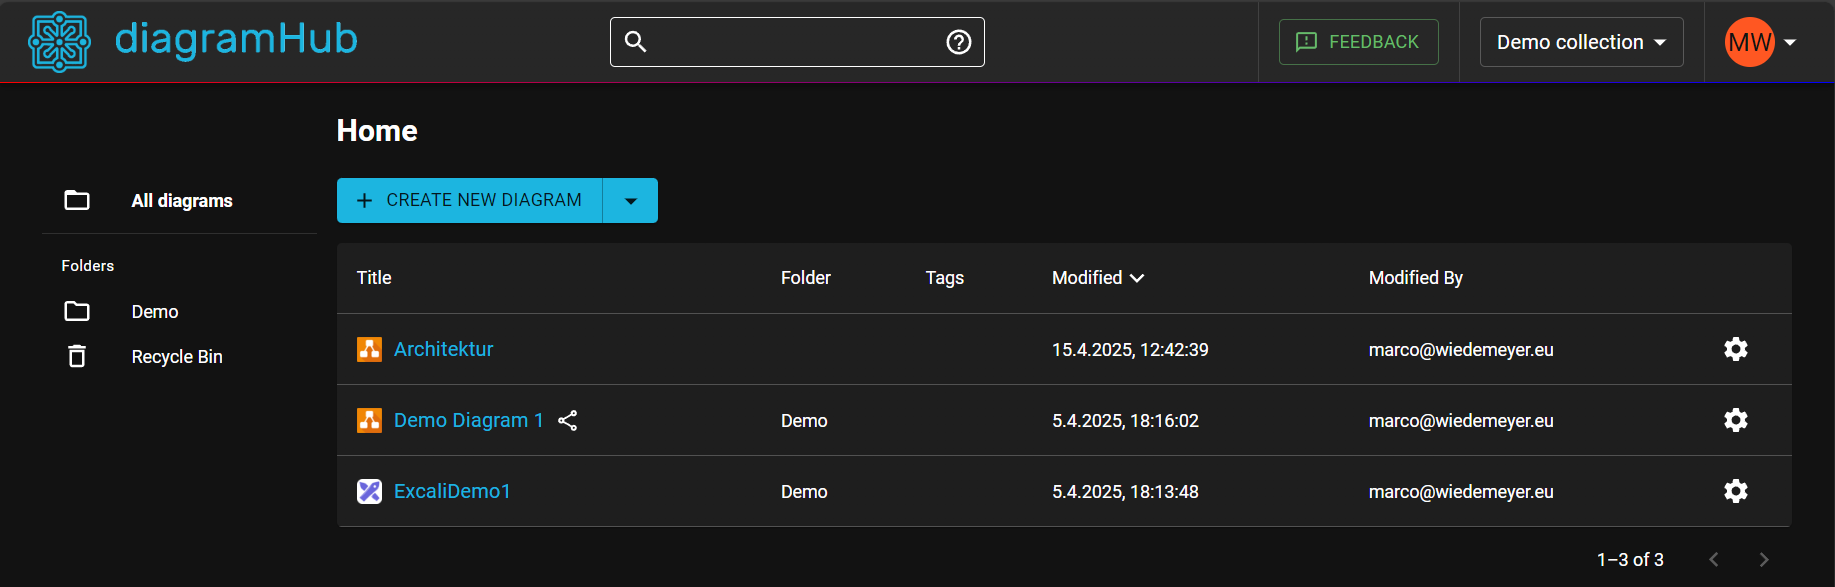
- Exploring: Once signed in, you can see a demo diagram and you can use the guest edit link to try some features.
- Start a Trial: Enjoy a 14-day free trial with no credit card required.
- Manage Licenses: Purchase Editor licenses (as the company administrator) for advanced features and assign them to your team members.
Final Thoughts
I’m excited to share diagramHub with you and we at my employer QUIBIQ Hamburg already using it.
Ready to give it a try? Visit diagramHub now. If you have any questions or feedback or need a demo account, feel free to reach out to me at support@diagramhub.app